Hello fish friends! Cleaning your fish tank is super important. You know, the water can look clean, but a filter can’t catch everything.
After a while, you gotta roll up your sleeves and clean everything inside your tank – the decorations, plants, stones, glass, and the ground stuff, which we call substrate.
If you’ve got gravel on the bottom, you might know about using a siphon-vacuum thingy.
It’s like a vacuum cleaner for your fish home, sucking up all the yucky stuff like fish poop, old plant bits, and food nobody ate.
But hey, maybe you don’t have one of those siphons, or you just don’t want to get one.
No worries! Since i have done the process multiple times, I’m here to tell you how you can clean a fish tank without a siphon vacuum.
Let’s get your fishy home clean step by step!
Mike’s Thoughts
Here is a quick tl;dr for a 5-minute fish tank clean up without a siphon:
-Begin by manually removing any large debris with a net, careful not to disturb the substrate or tank decorations too much.
-Partial water changes are essential; remove 10-15% of the water using a clean cup or a bucket, and always treat new water with a dechlorinator before adding it to the tank.
-Clean the interior glass with an algae pad or magnetic cleaner to remove algae without scratching the surface.
-Gently stir the substrate with a stick or your fingers to lift any waste settled at the bottom, which can be netted out or removed with the next water change.
-Prune live plants, if any, to remove dead leaves and excess growth, which can contribute to waste and deteriorate water quality.
-Wipe down the tank’s exterior and the hood, light, and tank top to keep it looking clean and ensure proper equipment function.
-Monitor water parameters with a test kit after cleaning to ensure the environment remains safe and stable for your aquatic pets.
-Ensure a good filtration system to remove waste and clear water between manual cleanings continuously.
-Consider using natural cleaners like snails or certain fish species to help control algae and substrate cleanliness between deeper cleaning sessions.
I’ve added more detail below that expands on the topic, so feel free to read on and leave a comment if you have any questions or reach me on Facebook.
Step 1: Preparing Your Aquarium
Before you begin the process of cleaning your fish tank without a siphon vacuum, you’ll need to carefully prepare your aquarium to ensure the safety and health of your fish.
First, I use a cup or a small bucket to gently remove my fish from their home. It’s crucial not to stress them out, so I take my time and do it with care.
Once they’re safely out, I proceed to take out the decorations and equipment that aren’t necessary for the cleaning process.
Next, I grab a portion of the dirty gravel and set it aside. This is to keep those beneficial bacteria that are vital for my tank’s ecosystem.
They’re the unseen heroes that help break down waste like uneaten food. With the rest of the gravel, I rinse it thoroughly, either under a hose or in the bathtub, to get rid of any debris.
After cleaning the decorations and the equipment, I put the gravel back in the tank, along with the portion I saved to preserve the beneficial bacteria. Before I reintroduce my fish, I make sure the water conditions are just right. This way, the transition back to their refreshed home is smooth and stress-free for them.
Step 2: Safely Removing Fish
Gently scooping my fish with a net, I place them into a clean bucket filled with water from their tank to keep them safe during the cleaning process. It’s crucial to ensure the bucket is spotless to avoid any harmful residue. This container with water serves as a temporary home for my fish from the tank, offering them a secure environment while I focus on cleaning their habitat.
As I lower the water level in the tank, I’m careful to use a clean cup or another net for the smaller or more delicate fish. It’s all about being patient and minimizing stress for them. Once they’re all safely transferred, I can start to clean the rest of the aquarium without worrying about their well-being.
After scrubbing the tank and rinsing the gravel—making sure to save some of the old gravel to preserve beneficial bacteria—I’m ready to gently return my fish back to their clean aquarium. I do this step by step, acclimatizing them to the fresh water and watching their reactions closely. It’s my responsibility to ensure they adjust well and continue to thrive in their freshly cleaned home.
Step 3: Draining Tank’s Water
After the fish are safely out of the tank, it’s time to tackle draining the water.
I’ll start by manually scooping out the water with a bucket or cup, which is a straightforward method that doesn’t require special equipment.
Gravity-Based Water Removal
When it’s time to lower the water level in your fish tank, you can start by using a cup or bucket to scoop out the water. This straightforward method doesn’t require fancy equipment and is perfect for cleaning the fish tank without a vacuum.
Lowering Water Level
- Use a cup or bucket to remove water.
- Keep enough water to cover the gravel, ensuring a damp environment for beneficial bacteria.
Cleaning Aquarium Gravel Without a Vacuum
- After lowering the water, carefully tilt the tank to drain the remaining water, avoiding gravel loss.
- Set aside some dirty gravel to maintain the ecosystem’s balance.
Manual Scooping Method
I’ll start by scooping out some of the water with a cup or bucket to prepare a safe spot for my fish during the tank cleaning process. With this manual scooping method, I ensure the safety of my fish and create a more manageable environment for cleaning. Here’s a simple table guide to streamline the process:
| Step | Action | Note |
|---|---|---|
| 1 | Scoop water into bucket | Prepare safe spot for fish |
| 2 | Remove non-essential items | Clear the area for cleaning |
| 3 | Lift and pour out water | Avoid spilling gravel |
| 4 | Transfer fish to bucket | Use net or cup |
| 5 | Push gravel to one side | Clean Fish Tank Gravel Without siphon |
Following these steps in my cleaning routine ensures I can clean your fish tank effectively while keeping the gravel neatly to one side. This way, I’m maintaining the ecosystem within the aquarium.
Step 4: Detaching Decorations
Before tackling the tank’s water, let’s gently remove any decorations to prevent them from getting damaged during the cleaning process. We want to keep our finned friends’ home both tidy and safe, so taking care with their decorations while cleaning is crucial. Here’s how I like to handle the plants and decorations:
Plants and Decorations
- Lift each item slowly to avoid startling the fish.
- Inspect each piece for algae or debris.
Substrate
- Use something like a small cup to scoop nearby gravel.
- This prevents decorations from trapping waste as you lift them.
It’s important to clean the gravel thoroughly since this is where a lot of the waste accumulates. By removing the decorations, we’re ensuring that we can clean the gravel without obstructions. Once I’ve taken all the decorations out, I give them a good rinse in clean water. This helps in maintaining a healthy environment for my fish. I avoid using soaps or chemicals because they can harm the delicate balance in the tank. Instead, I use a soft brush or sponge to gently scrub the decorations.
After cleaning the gravel and putting everything back, the tank looks spotless and my aquatic buddies are happy in their clean home.
Step 5: Extracting Tank Gravel
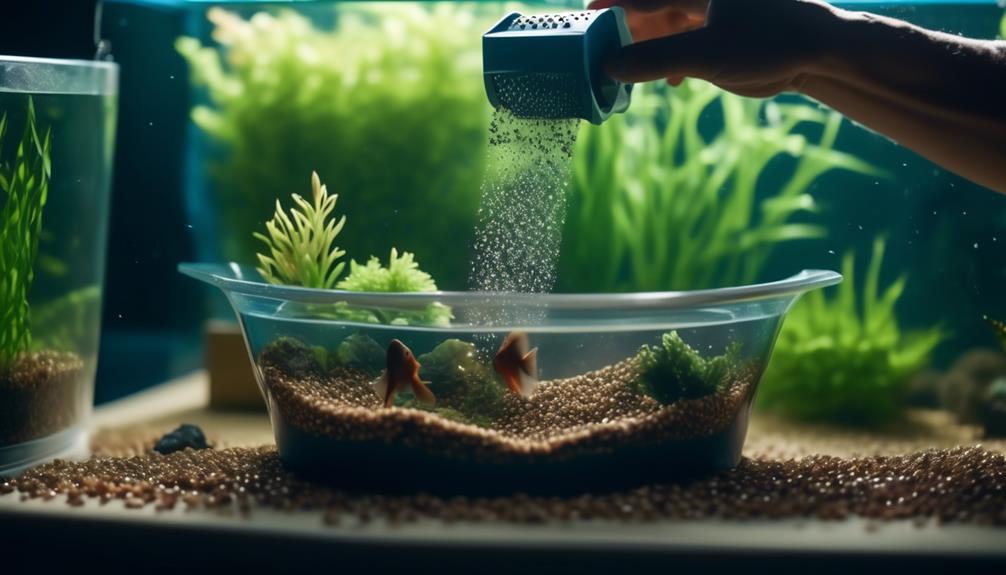
Now that we’ve taken care of the decorations, it’s time to focus on the gravel at the bottom of the tank.
I’m going to show you how to manually remove the gravel and change the water without needing a vacuum.
We’ll go through each step patiently, ensuring we don’t harm any beneficial bacteria in the process.
Manual Gravel Removal
To start removing gravel from your fish tank without a siphon, first scoop out some water using a cup or bucket to make the gravel lighter and easier to lift.
Here’s how you can do a manual gravel removal to ensure your aquarium water stays healthy:
- Cleaning Gravel Without a Vacuum
- Rinse the gravel in a hose or bathtub, gently shaking and stirring with your hands.
- Mix in a few cups of the original gravel to maintain beneficial bacteria.
Water Change Techniques
When changing the water in your fish tank and extracting gravel, start by placing your fish in a separate container filled with some of the tank’s water. I like to use a cup or bucket to ensure my Betta Fish stays safe while I clean. Next, I carefully remove all the items from the aquarium that aren’t secured to the bottom.
Here’s a simple table to keep track of the steps:
| Step | Action |
|---|---|
| 1. Fish Safety | Place Betta Fish in a temporary container |
| 2. Item Removal | Take out decorations and equipment |
| 3. Clean Gravel | Rinse the gravel Without A Siphon |
I make sure to rinse the gravel thoroughly to maintain the Water Parameters and only use tap water that’s been treated to remove chlorine and other harmful chemicals.
Step 6: Rinsing the Gravel
Rinsing the gravel is a crucial step in cleaning your fish tank. It starts by thoroughly washing it under a hose or in a bathtub while stirring it with your hands to remove debris. I make sure I’m gentle but thorough to ensure I don’t miss any dirt hidden within the gravel.
If my tank is too heavy, I use a tool to scoop the gravel into a container with tiny holes for drainage. After rinsing, I mix the clean gravel with the preserved dirty gravel before returning it to the aquarium. This mix helps maintain a healthy environment for my fish by preserving those helpful bacteria.
I’m always patient during this process, as a clean tank is a happy home for my aquatic friends.
Step 7: Clean the Tank
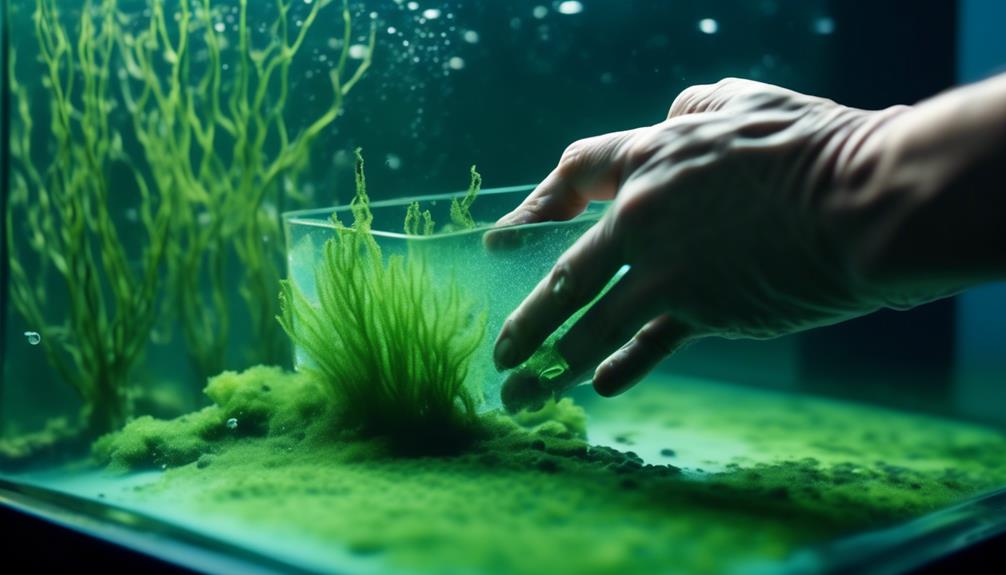
I’ll now focus on the glass walls, which are just as important to keep clean for a healthy tank environment.
To clean the aquarium glass, I use an algae scrubber or a magnetic algae cleaner.
These tools are gentle yet effective at removing the algae and dirt that can build up over time.
Scrubbing the glass is a straightforward process. I make sure to move the scrubber in gentle, circular motions to avoid scratching the glass. It’s important to be patient and thorough during this step to ensure all algae and grime are removed.
For tougher spots, a specialized aquarium glass cleaner pad or sponge comes in handy. It’s designed to tackle stubborn algae without damaging the tank walls. I also keep my live plants in mind, carefully cleaning around them to avoid any damage.
Once I’ve finished scrubbing, I take a clean, soft cloth and wipe away any silty water left on the glass. This step ensures a pristine finish and a crystal-clear view of my aquatic friends.
Step 8: Cleaning Filter Media
Now, let’s talk about how to clean the filter media, an essential step in maintaining a healthy fish tank.
I’ll show you how to rinse the components properly to keep those crucial beneficial bacteria intact.
We’ll also look at how often you should replace the media to ensure your aquarium stays in top condition.
Rinsing Filter Components
To ensure your fish tank remains a healthy environment, you’ll need to clean the filter media. This involves carefully removing it and rinsing it in a specific way to protect the beneficial bacteria.
Here’s how I do it:
- Rinsing Filter Components
- *Without using a siphon vacuum*, I gently remove the filter components and place them in a bucket of clean water from the fish tank.
- *Carefully rinsing*, I swish the media around to dislodge any debris.
- Avoid tap water to protect the bacteria.
- Squeeze and agitate to clean thoroughly.
After rinsing, I reassemble the filter and return it to the tank. This ensures clean water and a healthy environment for my fish.
Beneficial Bacteria Preservation
When cleaning the filter media, it’s crucial to preserve the beneficial bacteria that are essential for a healthy aquarium ecosystem. To do this, I set aside some of the gravel without rinsing it. This method of cleaning is important to keep the fish tank’s balance. By mixing this gravel with the cleaned gravel, I support beneficial bacteria preservation.
Here’s a simple table to illustrate my point:
| Gravel Condition | Emotional Benefit |
|---|---|
| Dirty (Set Aside) | Ensures loved ones (fish) stay happy |
| Cleaned Thoroughly | Feels refreshing, like a clean home |
| Mixed Together | Brings peace, knowing balance is restored |
| Water Contains Bacteria | Relief in knowing the ecosystem thrives |
| Clean and Free of Debris | Satisfaction from a job well done |
Media Replacement Frequency
While setting aside some gravel helps maintain the necessary bacteria, it’s also vital to regularly replace the different types of filter media to ensure the continued health of your aquarium. Proper media replacement frequency is key to keeping your fish tank clean, especially when doing so without a siphon.
- Mechanical Filter Media:
Replace every 1-2 months to remove debris effectively.
- Chemical Filter Media:
Swap out every 2-6 weeks for optimal water quality.
Step 9: Reassembling the Tank
Once everything is clean, it’s time to carefully put the gravel back into the bottom of the tank. I start by grabbing the cleaned gravel and begin to pour the gravel in, making sure it’s spread evenly. This isn’t just for looks; it’s important for the stability of any live plants and decorations I’ll be adding back in.
Next, I take the time to reposition the decorations and live plants exactly where I want them. It’s like redecorating a little underwater world, and I’m patient with it. I know that how I arrange these elements can affect the happiness and health of my fish.
After that, I check the water’s temperature, hardness, and pH levels. Getting this right is crucial for my fish to thrive, so I don’t rush it. Once I’m confident the water is perfect, I gently reintroduce my fish, giving them time to adjust to their refreshed home.
Step 10: Adjusting Water
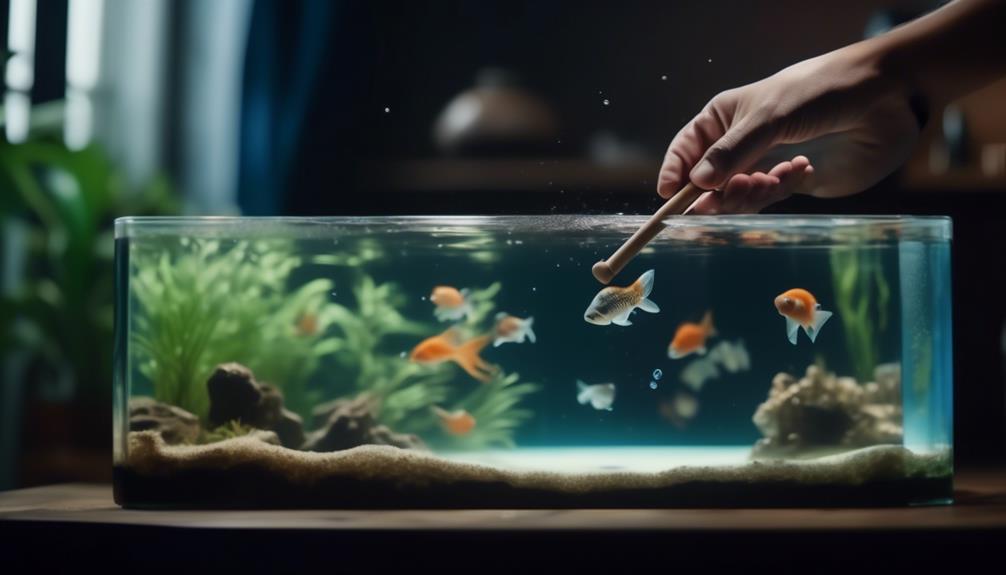
Adjusting the water chemistry is a critical step to ensure my fish live in a safe and comfortable environment. When I clean my fish tank, I make sure to test the water for pH, ammonia, nitrites, and nitrates levels. It’s important these are within the appropriate range for my fish.
To keep water chemistry balanced, I use:
- Water conditioners: to neutralize harmful chemicals.
- pH adjusters: to maintain the ideal pH level for my fish.
- Specific chemicals: when needed, to adjust nitrate or ammonia levels.
I’m always careful to monitor these parameters regularly. Maintaining stable water chemistry is key to the health of my fish. If I notice any fluctuations, I adjust accordingly.
Natural methods to adjust water chemistry include:
- Driftwood: can lower pH naturally.
- Plants: some can absorb excess nutrients, which helps maintain balance.
- Substrates: certain types can alter pH and hardness.
I avoid overfeeding as decomposing fish food and plant matter can throw off the balance. Small pieces of uneaten food should be removed promptly. If I’m unsure about adjusting water chemistry, I don’t hesitate to seek advice from experienced aquarists.
Step 11: Reintroducing Fish
After cleaning the tank and ensuring the water chemistry is balanced, I carefully start the process of reintroducing my fish to their refreshed habitat. I take the time to acclimate the fish to the tank water temperature by floating their bags on the surface of the water. This slow process ensures they don’t experience a shock from a sudden change in temperature.
Next, I gradually release them into the tank, watching closely for any signs of distress. It’s important that my fish adapt to their home without any added stress, so I’m patient, observing their behavior as they explore the clean gravel and full aquarium.
Before I’d started cleaning, I made sure to test the water parameters. Now, I do another check to confirm that the environment is still perfect for my aquatic life. If needed, I use a water conditioner to neutralize any remaining harmful chemicals. This step is crucial for their well-being.
Maintaining Tank
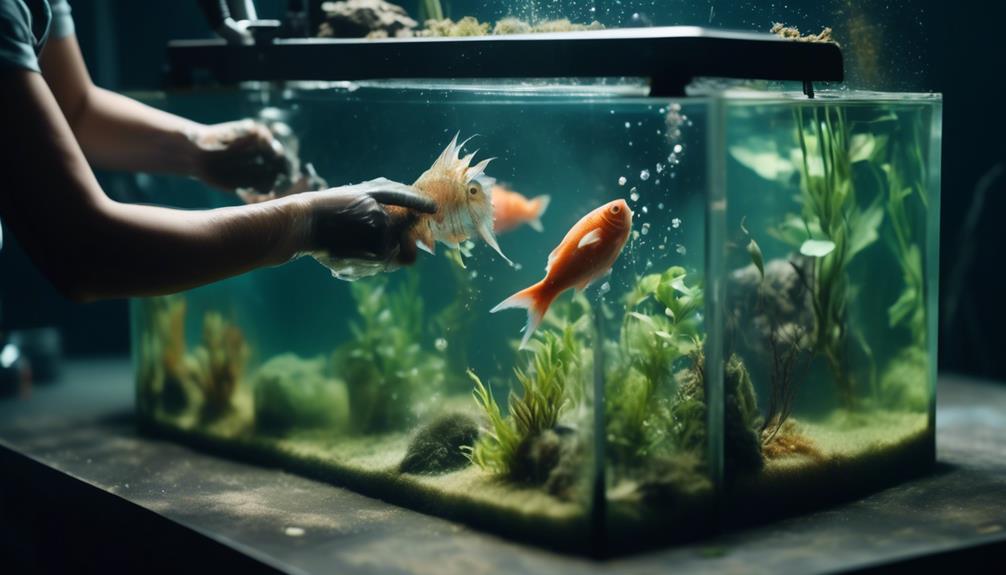
To maintain the cleanliness of my fish tank without a siphon vacuum, I regularly remove debris using a net and manage waste by closely monitoring feeding practices. It’s essential to ensure that my tank looks good and that my aquatic friends stay healthy. Here’s how I keep everything in check:
- Daily debris removal with a net
- Weekly check on water parameters
- Gravel Cleaning
I also make sure to clean the decorations and equipment in my fish tank, as they can collect algae and waste. I’m particularly careful with live plants, which can be sensitive to disturbances. By using a sieve to rinse the gravel, I can remove dirt without losing the essential bacteria that keep my tank’s ecosystem balanced.
Algae eaters or snails are great helpers for maintaining tank cleanliness. They work naturally to keep the gravel clean, reducing the need for frequent cleaning. I’m always gentle when I’m working in my tank, to avoid stressing my fish or damaging the delicate balance of their environment. With patience and regular care, my fish tank stays clean and healthy, even without a siphon vacuum.
Frequently Asked Questions
Can I Use a Turkey Baster to Clean My Fish Tank?
Yes, I can use a turkey baster for spot cleaning my fish tank. It’s good for waste targeting and gentle agitation of the substrate, improving water clarity with regular maintenance frequency.
How Do You Manually Clean a Fish Tank?
To manually clean my fish tank, I perform water changes, scrub algae, maintain the filter, clean decorations, prune plants, test for nitrates, and sometimes add snails to help with algae control.
Is There a Vacuum to Clean Fish Tank?
Yes, aquarium vacuums exist for fish tank cleaning. They help with algae control, water clarity, and filter cleaning, ensuring fish health and the beauty of tank accessories and decorative plants.
How Do I Get Rid of Gravel Dust in My Aquarium?
To rid my aquarium of gravel dust, I employ the settling method: gently stirring the water to encourage dust aggregation, then adjusting the filter. Regular gravel washing and maintenance routines ensure my fish’s safety.
How to Clean Fish Tank Gravel With Vinegar?
To clean fish tank gravel with vinegar, follow these steps:
- Remove Fish and Water
- Remove Gravel
- Vinegar Solution: Mix a solution of distilled white vinegar and water in a 1:1 ratio in a separate bucket or container.
- Soak and Scrub: Place the gravel in the vinegar solution and let it soak for about 15-20 minutes. After soaking, scrub the gravel with a brush to remove any algae or debris.
- Rinse Thoroughly: Rinse the gravel several times with clean water to ensure all the vinegar and debris are washed away. Keep rinsing until the water runs clear and you can no longer smell vinegar.
- Dry the Gravel
- Return to Tank: Once dry, place the gravel back into the tank, refill the tank with dechlorinated water at the appropriate temperature.
How Often Should I Clean The Gravel In My Fish Tank?
Clean the gravel in your fish tank every 2 to 4 weeks.
How to Clean Fish Tank Gravel By Hand?
- Turn off any electrical equipment (heater, filter, pump).
- Set aside a couple of cups of dirty gravel (about ¼ of the total)
- Remove any decorations and plants.
- Rinse thoroughly using a hose or in a bathtub
- Agitate the gravel with my hands to loosen debris
- Ensure the container has drainage or tip it to remove water
- Refill the tank with treated water at the correct temperature.
- Turn the electrical equipment back on.
How to Clean Aquarium Gravel Without Removing Water?
Use a gravel vacuum or siphon to clean the aquarium gravel without removing water. It allows you to suction out the debris and waste from the gravel while the water cycles through the vacuum and goes back into the tank. Not very effective.

